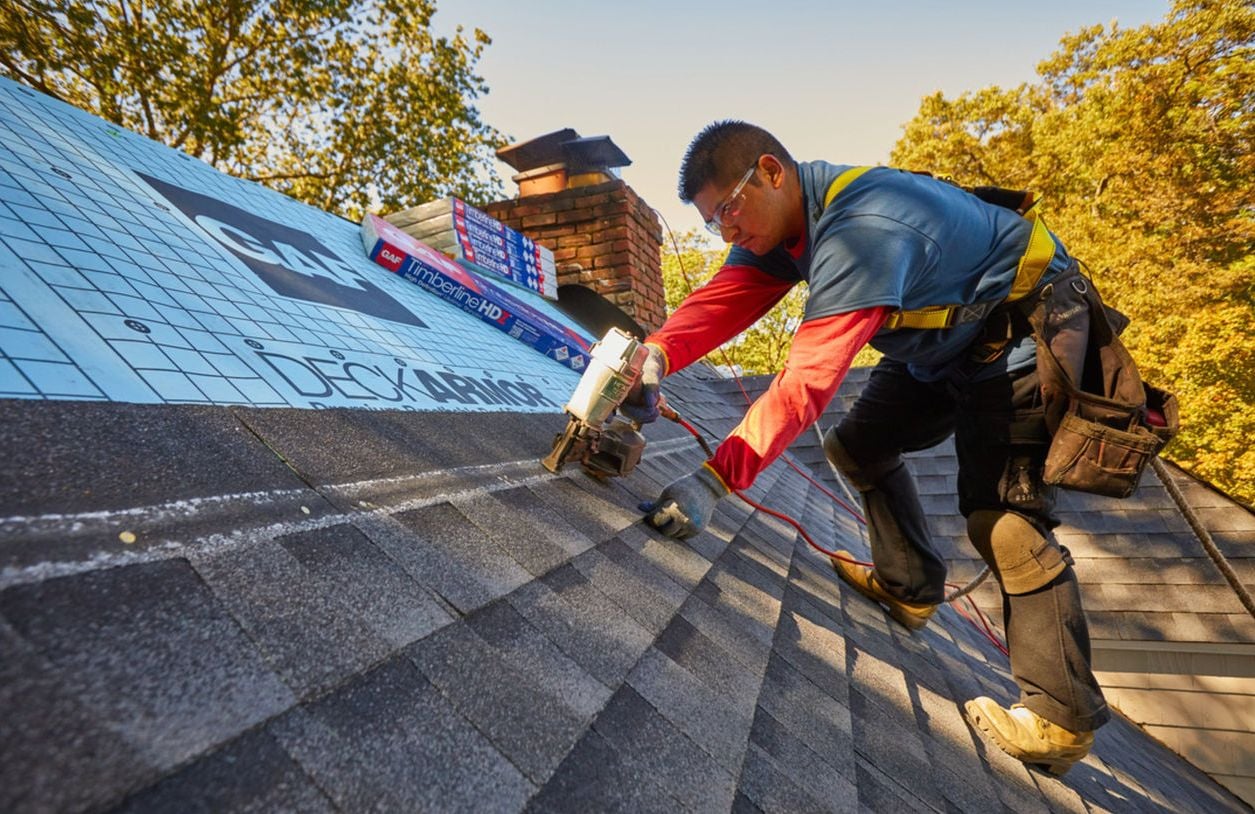
Whether you're an avid DIYer looking to tackle your next big home improvement project, or a homeowner curious about the process before hiring a contractor, understanding what goes into installing asphalt shingles is key to a successful project. Shingling a roof is a rewarding but substantial undertaking that requires precision, physical stamina, and a solid game plan.
Before you clear your weekend and grab your hammer, let’s look at a few practical things to help you decide if a DIY approach or professional installation is the best fit for your home.
Factors to Consider Before you Begin Installing Shingles
Safety: Working at heights requires specialized safety gear, such as harnesses and roof brackets, especially on steep pitches or multi-story homes. It’s also a highly physical job that involves lifting heavy bundles of shingles and working on your feet for extended periods.
Time Commitment: Professional roofing crews can typically strip and shingle an entire roof in just one or two days. For a first-time DIYer working solo or with a friend, the project can easily span four or more days. You'll want to ensure you have a clear, reliable weather window before getting started.
Precision & Warranty: Proper installation is essential for long-term weatherproofing. Correctly placing underlayment, flashing, and nailing patterns ensures your roof remains watertight. Additionally, many shingle manufacturers require specific installation methods to keep their material warranties fully intact.
What Tools and Materials are Needed to Install Roof Shingles?
If you're ready to take on the project or want to know what your contractor needs to get the job done, here are the tools and materials needed to install roof shingles.
First, let's start with tools.
What Tools Does the Roofer Need for Shingles Installation?
Wedge-Sole Boots: Lightweight boots with rubber wedge soles provide excellent traction and grip on angled roof surfaces.
Safety Harness & Roof Brackets: Essential fall-protection gear that keeps you secure while working at heights.
Work Gloves & Safety Glasses: Protects your hands from sharp shingle edges and your eyes from flying debris or stray nails.
Sturdy Extension Ladder: Reaches your roofline safely and securely.
What Tools are Needed for Roofing Shingle Installation?
Chalk Line: Used to snap straight reference lines across the roof deck so your shingle rows remain perfectly aligned.
Flat Bar: A versatile tool for lifting old shingles, pulling nails, and making minor adjustments.
Utility Knife: Essential for scoring and cleanly cutting shingles to size.
An extension ladder to help you get to where you need to be on that roof
Pneumatic Air Compressor & Roofing Nailer: Automatically drives nails to the perfect depth, significantly speeding up the installation process.
What Materials are Needed for Roofing Shingle Installation?
Asphalt Shingles: Choose a style and color that fits your budget and home's aesthetic, ranging from classic 3-tab shingles to dimensional architectural shingles.
Starter Strips: Specially designed shingles applied along the edges to create a secure, wind-resistant foundation for your first row.
Roofing Nails: Standard corrosion-resistant nails designed specifically for securing shingles.
Hip and Ridge Shingles: Pre-bent shingles used to cover and protect the peaks and angled intersections of your roof.
Drip Edge: Metal flashing installed along the eaves and rakes to direct water away from the fascia and into the gutters.
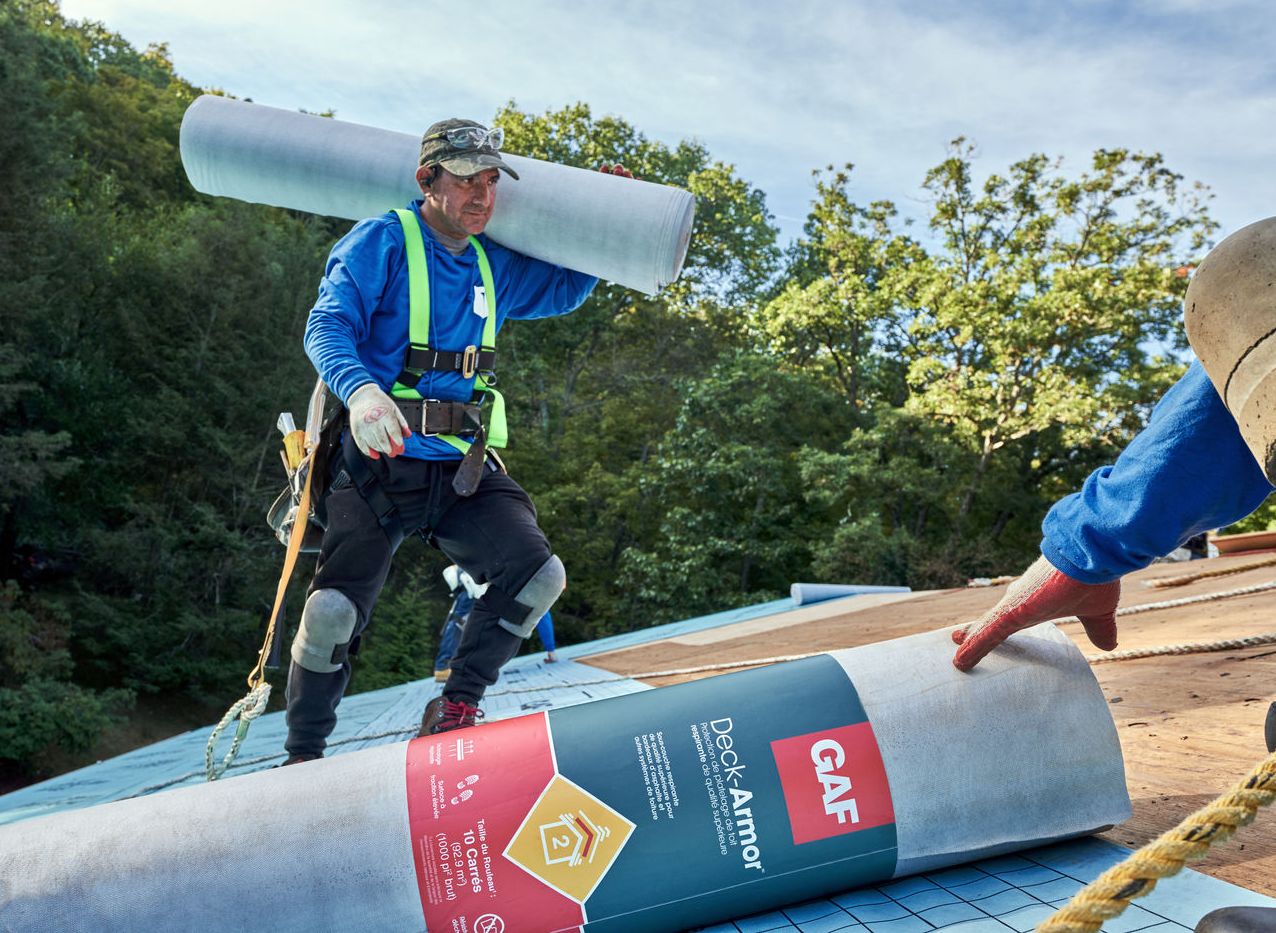
Roofing Underlayment: A breathable, water-resistant layer installed directly over the wood deck to provide secondary weather protection.
Ice and Water Shield: A self-adhering, waterproof membrane used in high-risk areas to seal around nails and protect against water backup.
Navigating Permits & Codes
Before you get started, don't forget that most municipalities require a building permit for roofing. Some will even require a mid-progress inspection or a final inspection to make sure the roof meets local wind and fire codes.
In many regions, permits are mandatory for tearing off old shingles, replacing underlayment, or altering roof materials. Local building codes ensure that roofing materials meet fire-resistance standards, that waterproofing is sufficient for regional weather patterns, and that your home's structural framing isn't overloaded by too many layers of roofing.
What are the Best Practices for a Smooth, Safe Shingle Installation?
Because roofing involves working on elevated, angled surfaces while handling heavy materials, proper preparation keeps the project moving smoothly.
Create Staging Platforms: For steeper roof pitches, install roof brackets and secure toe boards. These provide stable mini-platforms to rest your feet or stage materials, reducing leg fatigue.
Watch the Weather Window: Professional crews have the manpower to dry-in a roof quickly if unexpected weather hits. As a DIYer, it's best to track local forecasts closely and ensure you have a stretch of consecutive clear, dry days before removing your old roof. A DIY roofer will not finish in the same time as a professional roofer with years of experience and certifications.
How to Install Asphalt Roof Shingles Step-by-Step
Once your deck is clear, inspected, and ready, you can begin the installation process.
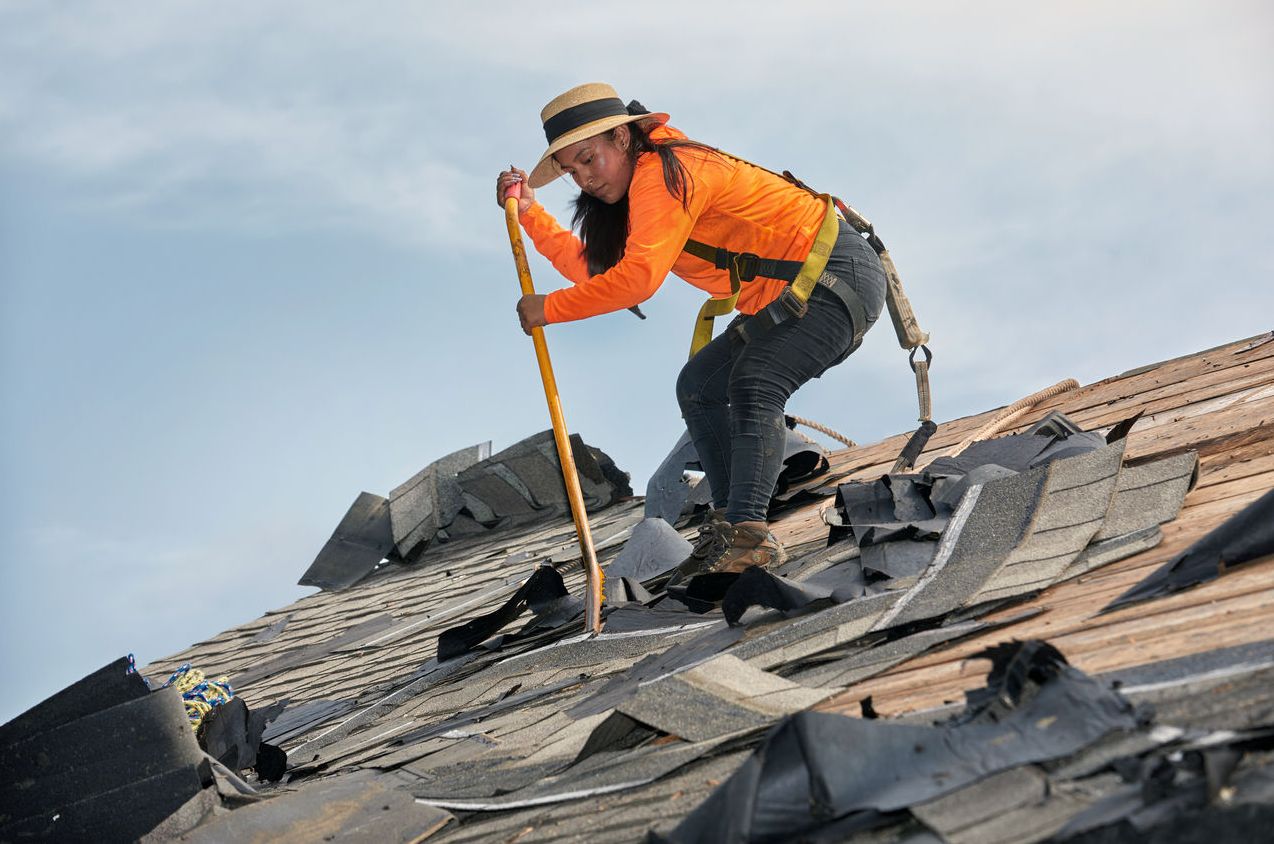
Step 1: Preparation & Tear-Off
Remove the old shingles, pull up any remaining nails, and inspect the underlying wood roof deck for any signs of damage or soft spots that need replacing.
Step 2: Drip Edge & Underlayment
Before we start this section, you must know what's called the "overlap rule:" essentially, each upper layer must properly overlap the layer below it this way water goes down and out, rather than behind or under. There will also be different methods of installing your shingles based on where you are on the roof.
Bottom edge of the roof, or what's known as the eaves:
You install your drip edge first, directly on your roof deck.
Next, comes the ice & water shield — installed over the drip edge. An important note about the ice & water shield: It's required at the eaves because this is the one place on a roof where water could move uphill and your shingles can't prevent this on its own. The ice & water shield will create a watertight seal to protect from winds, rain and ice. The shield should overlap your drip edge by 2 inches.
Underlayment — overlaps the ice & water shield above it by 2-4 inches.
Sloped edges, or Rakes:
You install the underlayment first. Underlayment courses should overlap one another by 2-4 inches.
Then, you install the drip edge. This should overlap the underlayment by two inches. The drip edge is the outer layer to block wind-driven rain from getting under the underlayment.
Step 3: Install Starter Shingles
Starter shingles will help your roof resist wind and will seal the water at the edge.
Step 4: Installing Asphalt Shingles, Stagger Style
You'll want to follow what's called a stepping or "staggering pattern" with the goal of never allowing vertical seams to line up as each shingle course should offset the joints of the shingle course below it. Staggering prevents water channels, increases wind resistance and strengthens the shingle field.
Start with a full shingle at the bottom course and then for the next course, cut 6 inches off the first shingle.
For the next shingle course, cut 12 inches off-- then for the one after that, cut 18 and repeat this pattern: 24 inches for the next, 30 and repeat. Ultimately, this makes a 6-inch offset pattern.
For the shingles: nails should be driven into the nail line of the shingle with your roofing nailer. This nail line is also called a sealant line or a nailing strip. Do not drive the nail above or below the line.
There should be four nails spaced evenly along the nail line, with two nails on each side of the shingle. Make sure to push the nail through each shingle and into the deck by 3/4.
For windy areas, like the coast, or with certain shingle manufacturers, you may need to place six nails, instead of four, with six spaced evenly on the nail line and two extra nails at the ends of each shingle. Look at your manufacturer's instructions and consider where you live when choosing to nail four or six.
Remember: nailing properly is key! If you nail too high, the shingle can blow off and if you nail too low, you're looking at potential roof leaks later on.
Step 5: Capping the Ridges
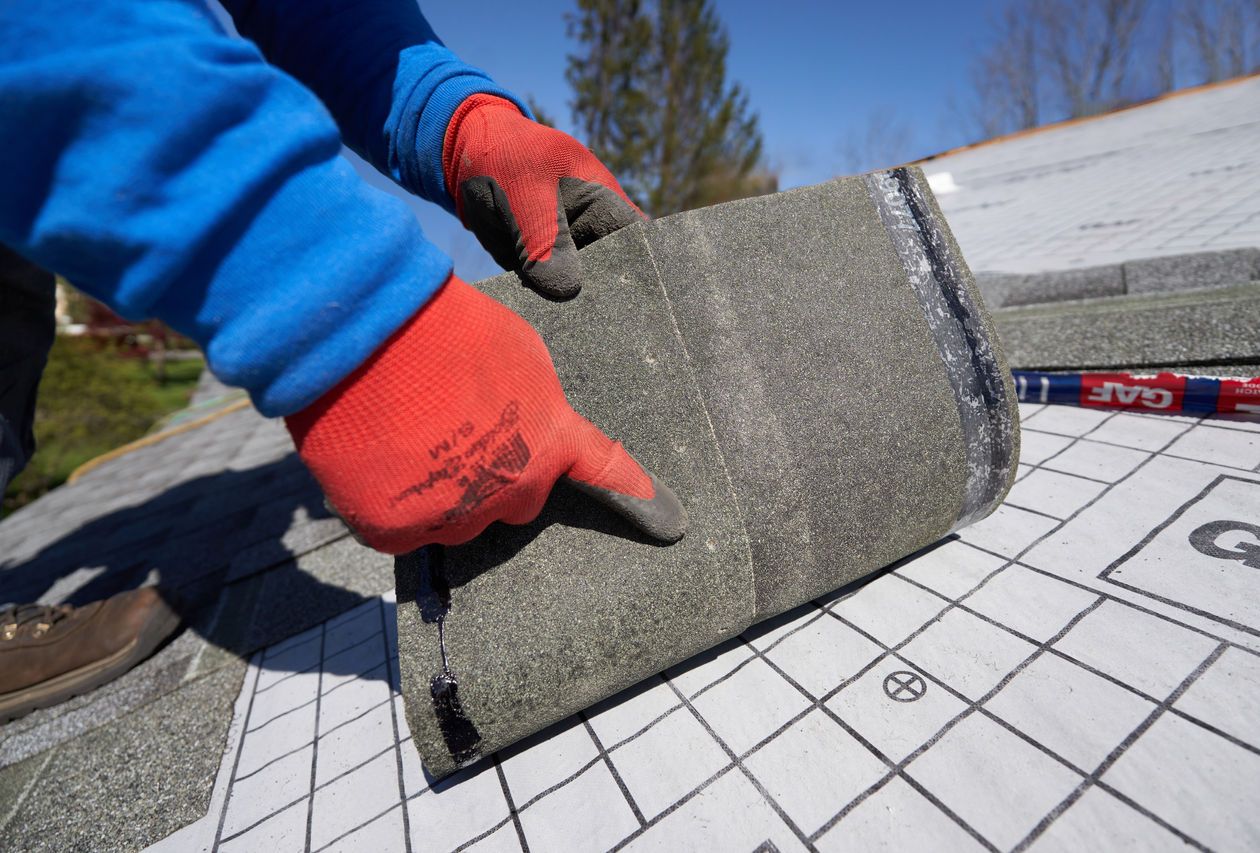
Installing the hip and ridge shingles seals your peak, protects the most vulnerable areas on your roof and finishes the look.
If you're using a ridge vent, install it first.
Then, prepare the ridge line- snap a chalk line along the ridge to have a straight reference.
Make sure the last shingle course is nailed properly and trimmed first before starting the hip and ridge shingles.
Install hip and ridge shingles just like the main roof shingles. Each shingle should overlap the one before it as you're working away from the wind.
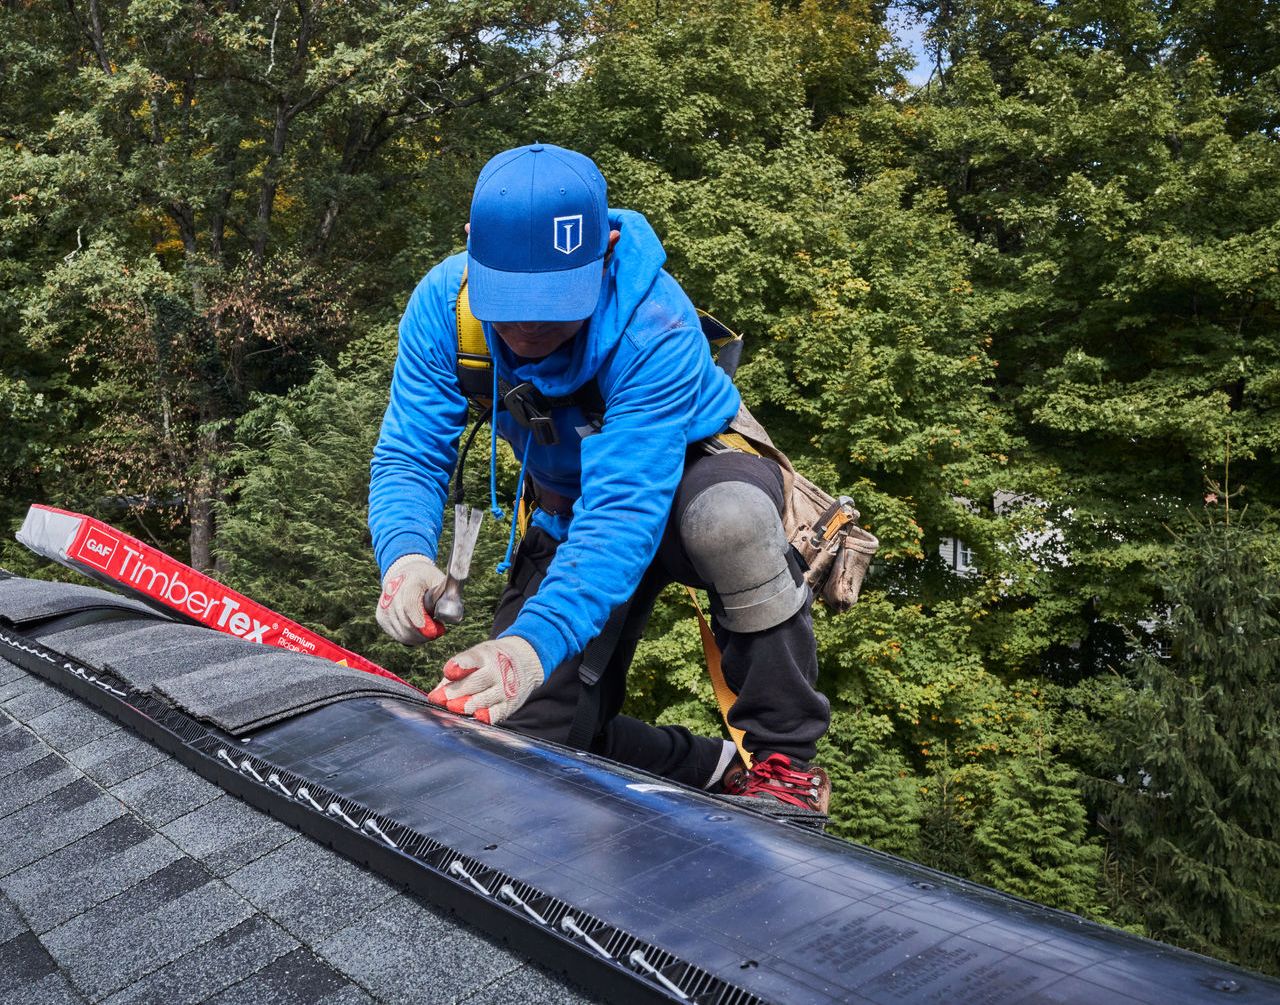
For your ridge caps, make sure each cap gets two nails, one on either side of the ridge. Some high-wind rated ridge caps will require a 6-nail pattern, but 2 nails per cap is the standard. See the manufacturer's instructions.
For ridge caps, the nails will go below your sealant line and far enough back so the next cap will cover them.
Keep in mind the nails must go through both roof decks.
Make sure to continue across the ridge, aligning each cap with the chalk line and each cap should be pressed into the adhesive strip of the one below it for a tight seal.
The last step is to install the final ridge cap, which cannot be covered or nailed. Instead, you'll apply roofing cement under the cap first and then follow with two nails high up on the cap, and covering it with cement.
Pro vs DIY installation: Making the Best Decision
Taking on a roofing project yourself can be an excellent way to build your home improvement skills and save on labor costs. However, it is a significant investment of time and physical energy. As you decide which route to take, ask yourself a few practical questions:
Do I have a reliable team of helpers to assist with lifting and moving materials?
Does the local weather forecast look clear for the entire duration of my estimated timeline?
Am I entirely comfortable managing the physical demands and working comfortably at heights?
If you find yourself unsure about any of these steps, reaching out for a professional estimate is a great next step. Experienced roofing professionals bring specialized tools, efficient crew dynamics, and manufacturer-backed warranties to the table.
To explore your options and compare costs, consider connecting with a GAF-certified contractor* near you to get a professional assessment and estimate to see what your options may be. A professional roofer could be the investment your roof and home deserve.
*Contractors enrolled in GAF certification programs are not employees or agents of GAF, and GAF does not control or otherwise supervise these independent businesses. Contractors may receive benefits, such as loyalty rewards points and discounts on marketing tools from GAF for participating in the program and offering GAF enhanced warranties, which require the use of a minimum amount of GAF products. Your dealings with a Contractor, and any services they provide to you, are subject to the GAF Contractor Terms of Use.
