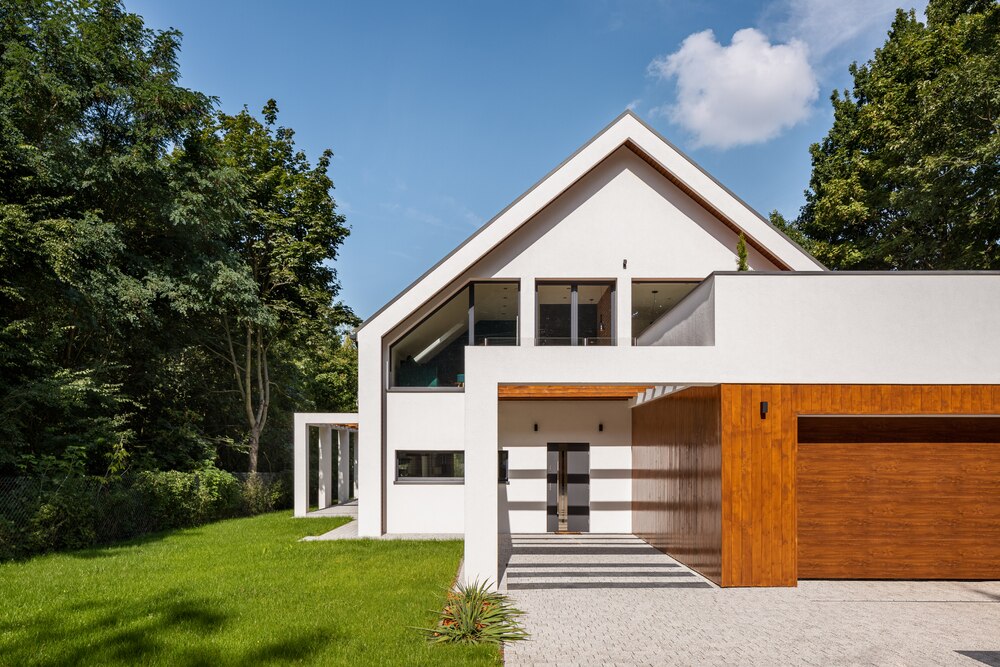
About 82% of homes in the United States have outdoor living areas—many with low-slope roofs. That's nearly 6 million homes that could feature a self-adhered roofing system. Are you taking advantage of the opportunities that these porches, sheds, garages, and carports represent?
The LIBERTY™ SBS Self-Adhering Roofing System is a residential low-slope roofing solution that can help boost your bottom line and help keep customers happy.
System Components
The LIBERTY™ SBS Self-Adhering Roofing System features the LIBERTY™ SBS Self-Adhering Base/Ply Sheet and the Liberty™ SBS Self-Adhering Cap Sheet.
Benefits for Customers
Contractors can help educate customers about the benefits of hiring a GAF-Certified Contractor to install the LIBERTY™ SBS Self-Adhering Roofing System on their low-slope roof.
When talking to a customer, explain how asphalt shingles aren't intended for low-slope roofs. In fact, installing shingles could lead to excess debris, pooling water, and an increased risk of leaks and water damage. When it comes to a mopped roof, explain the increased risks of the hot asphalt, and the unpleasant smell. Plus, you can point out that a LIBERTY™ SBS Self-Adhering Roofing System is typically quicker to install.
Clarify for customers which types of low-slope roofs could benefit from having a self-adhered roofing system — such as garages, sheds, patios, porches, carports, etc.
Customers will likely care about aesthetic benefits, too. The granule-surfaced modified-bitumen roofing system has an attractive, low-profile look and comes in seven popular colors that can help complement GAF Timberline® Shingles (among many others!) installed on their home.
Finally, you can explain that the Liberty™ SBS Self-Adhering Roofing System offers both 10 and 15-year warranties depending on the system that is installed. Click here for warranty details.
Benefits for Roofers
Roofers already have the know-how to install the LIBERTY™ SBS Self-Adhering Roofing System, but adding it to your roofing arsenal also comes with real perks, such as:
- Saving on setup and cleanup time compared with a typical mopped SBS roof system.
- Expanding your economic opportunities by offering an efficient, quality solution for low-slope roofs.
- Convenient installation with no torches, open flames, hot asphalt, bulky equipment, or messy solvent-based adhesives.
- Rising above the competition by offering an aesthetically pleasing low-slope solution.
Installation Best Practices
This self-adhered roofing system is a straightforward install—no difficult new techniques, just the roofing basics you've already mastered. Here are some best practices for installing the LIBERTY™ Self-Adhering Roofing System. Remember to always refer to full instructions for proper installation.
Remove Old Roof: Remove the existing roof(s) and inspect the roof deck to determine suitability for the LIBERTY™ Self-Adhering Roofing System. As always, confirm the decking is in sound shape before beginning this or any other roofing project, making sure any damaged deck materials are replaced as necessary.
Prep the Deck: Seal up any seams with roof deck tape (to provide added structural strength and waterproofing protection for your project) and prime the deck using the Matrix 307™ Asphalt Primer, LIBERTY™ Asphalt Primer, or equivalent ASTM-D41 Asphalt primer prior to installing the LIBERTY™ SBS Self-Adhering Base/Ply Sheet.
Cut the Base Sheet: Watch the online instructional video to learn the correct base sheet drip edge allowance, how to account for inside corner transitions, and how many inches to add for cant strips when installing the LIBERTY™ Self-Adhering Roofing System. (A password is required. If you're not already using the GAF Learning Portal, you can register to watch this video and other roofing-focused vocational training videos and courses here). Plus, learn how to stagger your base sheet seams to help prevent water and debris from gathering and to improve overall aesthetic outcomes. Pro-tip: lay out the material before starting the installation, so you can verify measurements and help with a smoother application. Note: For two-ply installations, LIBERTY™ SBS Self-Adhering Base/Ply Sheets are required.
Install the Base Sheet: The beauty of self-adhered durable membrane is that no nails are required (unless the slope is 1:12 or higher, then back-nailing in the selvage edge is required to prevent slippage). To create a strong bond and smooth surface when installing, roll with a weighted roller (~150 lb.) between each layer.
Attach the Metal Drip Edge: Before setting the metal drip edge, determine if you are installing a one or two-ply system. This will determine the location of the metal drip edge. Learn about correct nail type and penetration depth for metal drip edge installation in the video. Along with the knowledge gained from the instructional video, be sure to always follow local code on nail spacing.
Cut the Cap Sheet: Cut the LIBERTY™ SBS Self-Adhering Cap Sheet to a manageable length, and align at the lowest edge of the roof, overlapping and flush with the outer edge of the drip edge, with the selvage edge at the high side of the roof.
Install the Cap Sheet: Thankfully, installing the cap sheet is as easy as aligning, folding, peeling, and rolling. The LIBERTY™ SBS Self-Adhering Roofing System was made to simplify a roofer's life when it comes to residential low-slope roof applications. Watch the cap sheet install demonstration and get pro-tips about cap sheet priming, overlap allowance, end laps and T-joints, and more in the above video.
Grow and Connect with Fellow Roofing Professionals
Ready to build your business with expanded roofing products and know-how? Grow professionally with the GAF Learning Portal. Improve your hands-on skills, business expertise, and product knowledge—all while connecting with fellow roofing pros.

